Installation of storm window is a cost-effective solution for upgrading your existing energy inefficient windows. These windows are easy-to-install, and they are cheap when compared to the expensive replacement windows. In fact, storm windows that have low emissivity can reduce window replacements cost considerably by lowering your utility bills.
These impact windows are coated with a thin invisible layer of metal that prevent heat from escaping your home during the winters. During summers, these windows prevent heat from entering the room. This helps in reducing the heating and cooling costs. The impact resistant windows can reduce the energy costs by up to 33 percent. This means that you can save up to $330 on an annual heating/cooling bill of $1000.
After you decide to install these windows, the first step you must take is choosing the right window for your home. All hurricane windows are energy efficient, but they are available in different coatings and materials to suit the requirements of your house. For instance, if you plan to install these windows on the exterior of your home, you would prefer a material that is durable and sturdy. In this article, we will focus on exterior hurricane windows which can easily fit on a standard double – hung windows and are the most common type of windows installed by households.
When installing these windows, condensation could develop between the storm windows and the existing windows. To reduce the risk of condensation, ensure the current window is airtight by caulking the sides and top. You must do this before you install the storm windows.
Steps to take before you start
Make sure the window and the area adjacent to it is dry. If there is any rotting wood, missing glass, water leaks, and broken parts, make sure you fix it before installing the window.
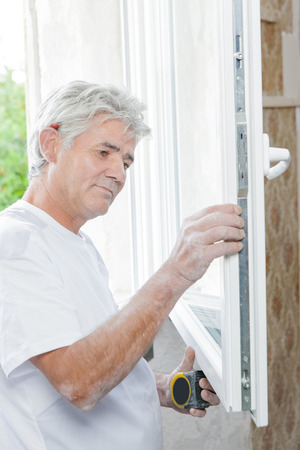
You must get accurate measurements of the new storm window. Make sure you measure the width between the inside edges of the casing at three places – the top, middle, and bottom. You must then measure the height correctly from the top of the casing to the sill. Once you have taken the measurements, some of the items you have to buy include a tape measure, storm window, putty knife, caulk, screwdriver, and caulking gun.
Step-by-Step Installation
Put the storm window into the open space and check for proper fit. Once you test the fit, remove the storm window. Caulk the sides and top of your existing window opening. To caulk the current window, hold the caulking gun at an angle of 45-degrees. Hold the caulking gun at a consistent angle and try to slide the nozzle along the joint while pressing the trigger of the gun.
After you caulk the existing window, you must reposition that new storm window into the opening. Secure the window the frame using screws and a screwdriver. You must then adjust the expander that is at the bottom of the window. A normal storm window comes with a windowsill expander which allows it to expand to meet the angled sill of the window opening. Square up the unit and install the remaining screws. When installing the window, make sure the gap between the frame and the window is even on all sides.
Other Miami Locations Where We Service:
North Miami Beach FL, South Miami FL, Hialeah FL, Homestead FL, Miami Lakes FL, Cutler Bay FL, Opa Locka FL, Miami Beach FL, Sweet Water FL, Hurricane Proof Windows Miami, Palmetto Bay FL, Golden Beach FL, Doral FL, Pinecrest FL, Coconut Grove FL, Bal Harbour FL, Florida City FL, Coral Gables FL, Miami Gardens FL, Key Biscayne FL, Aventura FL, Miami Shores FL, Kendall FL